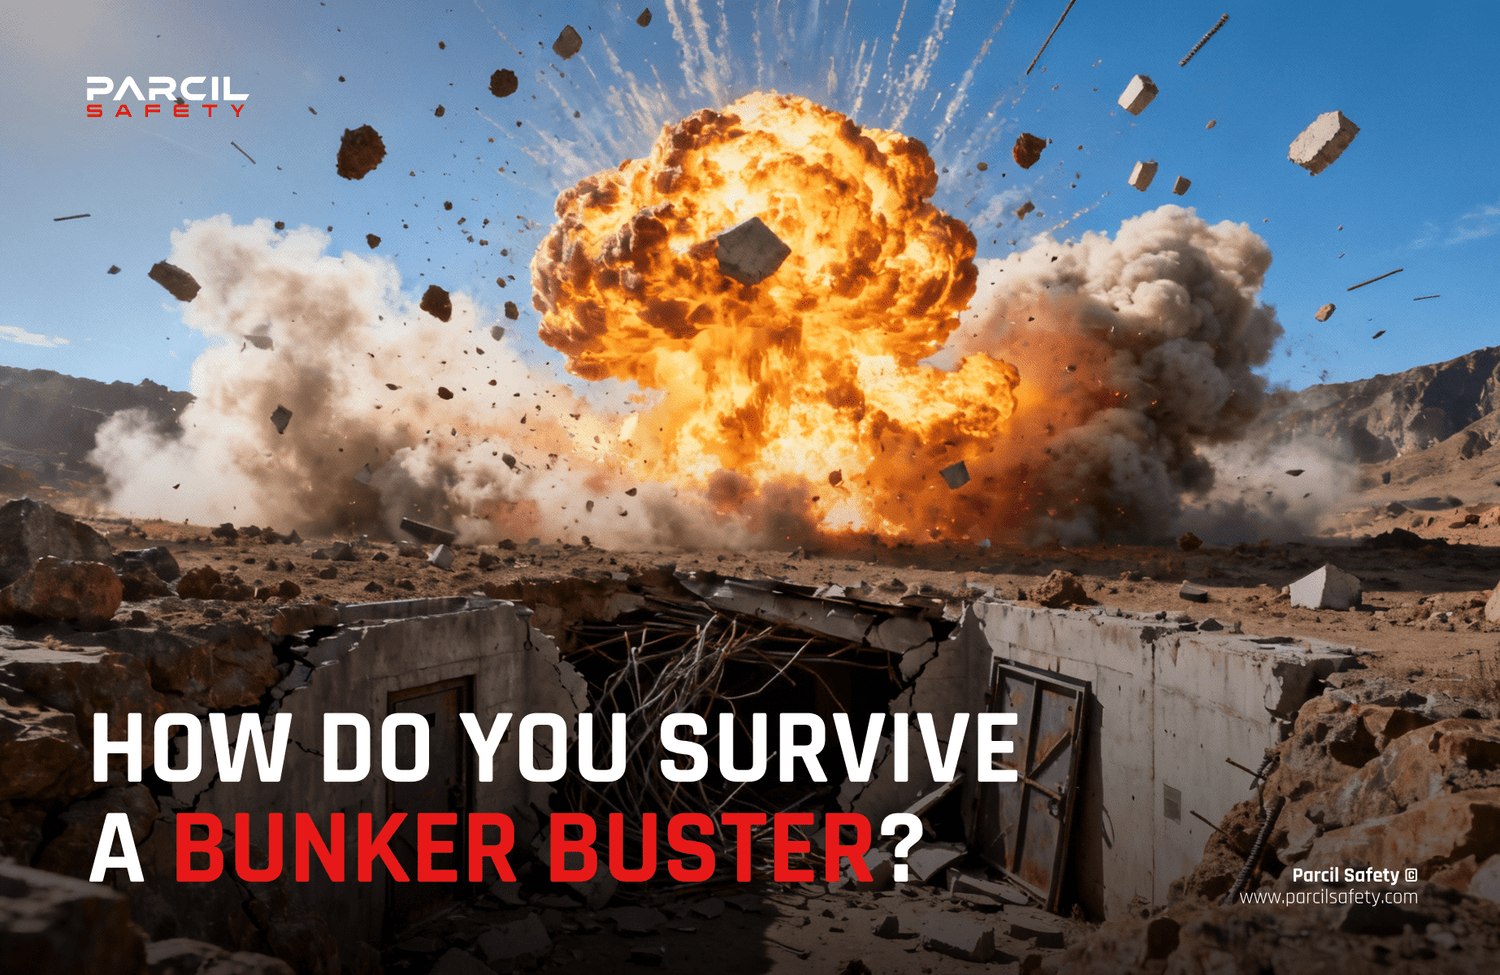
It’s the nightmare scenario most bunker owners hope never comes true: what if your bunker is targeted by a bunker buster strike? While these events are rare, the very purpose of preparedness is to plan for what feels unthinkable.
Your survival doesn’t just depend on concrete walls or steel reinforcements. It depends on your plan, your equipment, and your ability to respond under stress. In this guide, we’ll walk through the essentials of surviving a blast scenario, from immediate actions to long-term safety.
Why Planning Matters
In survival situations, hesitation is costly. Explosive events deliver more than impact: they create dust, fire, secondary structural damage, and psychological shock. Without a plan, panic takes over.
The good news? With proper preparation, you can dramatically increase your chance of survival. A bunker stocked with Parcil Safety respirators, filters, and essential gear is not just a storage room, it’s a lifeline.
➡️ Related Reading: What Should Be in Your Survival Bunker
Step 1: Immediate Assessment
The first seconds after an impact are critical.
- Stop and assess. Account for everyone in the bunker.
- Listen for follow-ups. Many strikes happen in series; don’t rush into danger.
- Shift inward. Move away from exterior walls, vents, or doors.
This quick scan determines whether you stabilize in place or prepare for movement.
Step 2: Protect Your Airway

After a blast, dust, debris, and toxic particulates fill the air. Breathing unfiltered air can quickly incapacitate you.
- Equip a full-face gas mask immediately. Options like the CS-100 Military Gas Mask, ST-100X Tactical Gas Mask or NB-100 Tactical Gas Mask are built for high-stress scenarios.
- Ensure everyone has spare filters and can don masks in seconds.
- If respirators aren’t available, use layered cloth as a temporary measure until proper gear is secured.
Get Full Face Respirator Gas Masks Here
➡️ Related Reading: Can Gas Mask Filters Be Reused
Step 3: Seal and Secure Airflow
A bunker’s strength is its seal but only if you use it correctly.
- Close all vents and openings if dust or smoke is entering.
- If equipped, activate NBC filtration systems in recirculation mode.
- Use plastic sheeting and tape for temporary seals in compromised areas.
Control of airflow buys you time and clean air, your first line of defense after impact.
Step 4: Treat Immediate Injuries
Explosive events cause blunt trauma, lacerations, and burns. First aid is survival.
- Apply tourniquets for massive bleeding.
- Use pressure dressings for wounds.
- Keep casualties warm and calm.
- Move patients only when the environment is stable.
➡️ Additional Reading Resource: Stop the Bleed Campaign, a national program teaching civilians how to save lives during emergencies.
Step 5: Monitor and Conserve
Once initial danger passes:
- Conserve power. Shut down nonessential systems.
- Preserve water and food. Assume resupply may be delayed.
- Check comms. Keep one radio powered to receive updates.
- Log conditions. Track time, injuries, and environmental signs for later responders.
Stability in the bunker relies on rationing and discipline.
Step 6: Decontamination Protocols
If dust or contaminants enter the shelter:
- Remove outer clothing and seal it in plastic bags.
- Rinse exposed skin and eyes with clean water.
- Isolate contaminated items from living areas.
Full-face respirators like the CS-100 Riot Control Gas Mask offer an extra layer of protection against irritants during these steps.
Step 7: Structural and Safety Checks
Never evacuate blindly.
- Look for cracks, sagging ceilings, or water seepage.
- Listen for structural groaning or new dust falling.
- Evacuate only if authorities confirm safety or your shelter is failing.
If compromised, plan the shortest, safest route through least-damaged areas.
Step 8: Communication and Documentation
Isolation breeds risk. Stay connected.
- Notify emergency contacts when safe.
- Share location, injuries, and status with local authorities.
- Keep written logs of time, symptoms, and decisions made.
These records guide both rescuers and future preparedness.
Step 9: Post-Event Recovery

Survival isn’t over once the noise stops.
- Have the bunker inspected by professionals before reuse.
- Replace all filters and used respirator cartridges.
- Debrief your family or group, update your plan, and practice improvements.
➡️ Helpful Resource: FEMA’s Emergency Management Guidelines
Essential Gear Checklist for Bunker-Buster Survival
- Full-face gas masks (ST-100X, CS-100, NB-100)
- Spare 40mm filters, sealed and rotated
- Trauma and first aid kits (tourniquet, pressure dressings, antiseptics)
- Water supply: 1 gallon per person per day, plus purification tablets
- Shelf-stable food: freeze-dried meals, canned proteins, grains
- Radios (hand-crank or solar), flashlights, extra batteries
- Plastic sheeting, duct tape, tools for sealing breaches
- Bedding, sanitation kits, and morale boosters (games, books)
How do you survive a bunker buster? The answer isn’t luck. It’s preparation, protection, and practice.
Your bunker protects you from blast. Your respirator protects your lungs. Your plan protects your future.
At Parcil Safety, we believe survival gear should do more than sit on a shelf. It should be tested, trusted, and ready to perform when seconds count.
🛡️ Explore our Defense Collection today and make sure your bunker is stocked for the threats you hope never come.


Leave a comment
All comments are moderated before being published.
This site is protected by hCaptcha and the hCaptcha Privacy Policy and Terms of Service apply.